Mini Program + APP Development and Deployment
This document mainly records the setup of the WeChat mini program development environment, common development issues and solutions, as well as packaging, uploading, and publishing.
Introduction to Development Frameworks:
- JEECG-BOOT: An excellent low-code open-source platform
- Uniapp: A very useful multi-end development framework that allows you to develop mini programs, H5, Android Apps, iOS, etc., with a single codebase
Introduction to Development Tools:
- IDEA2018.3
- HBuilder X3.4.18
- WeChat Developer Tools
Essential Environment:
- Alibaba Cloud Server (Ubuntu)
- Registered Domain (xiaozhuo.top)
- WeChat Developer Account
- Uniapp Developer Account
I. Uniapp Environment Preparation
-
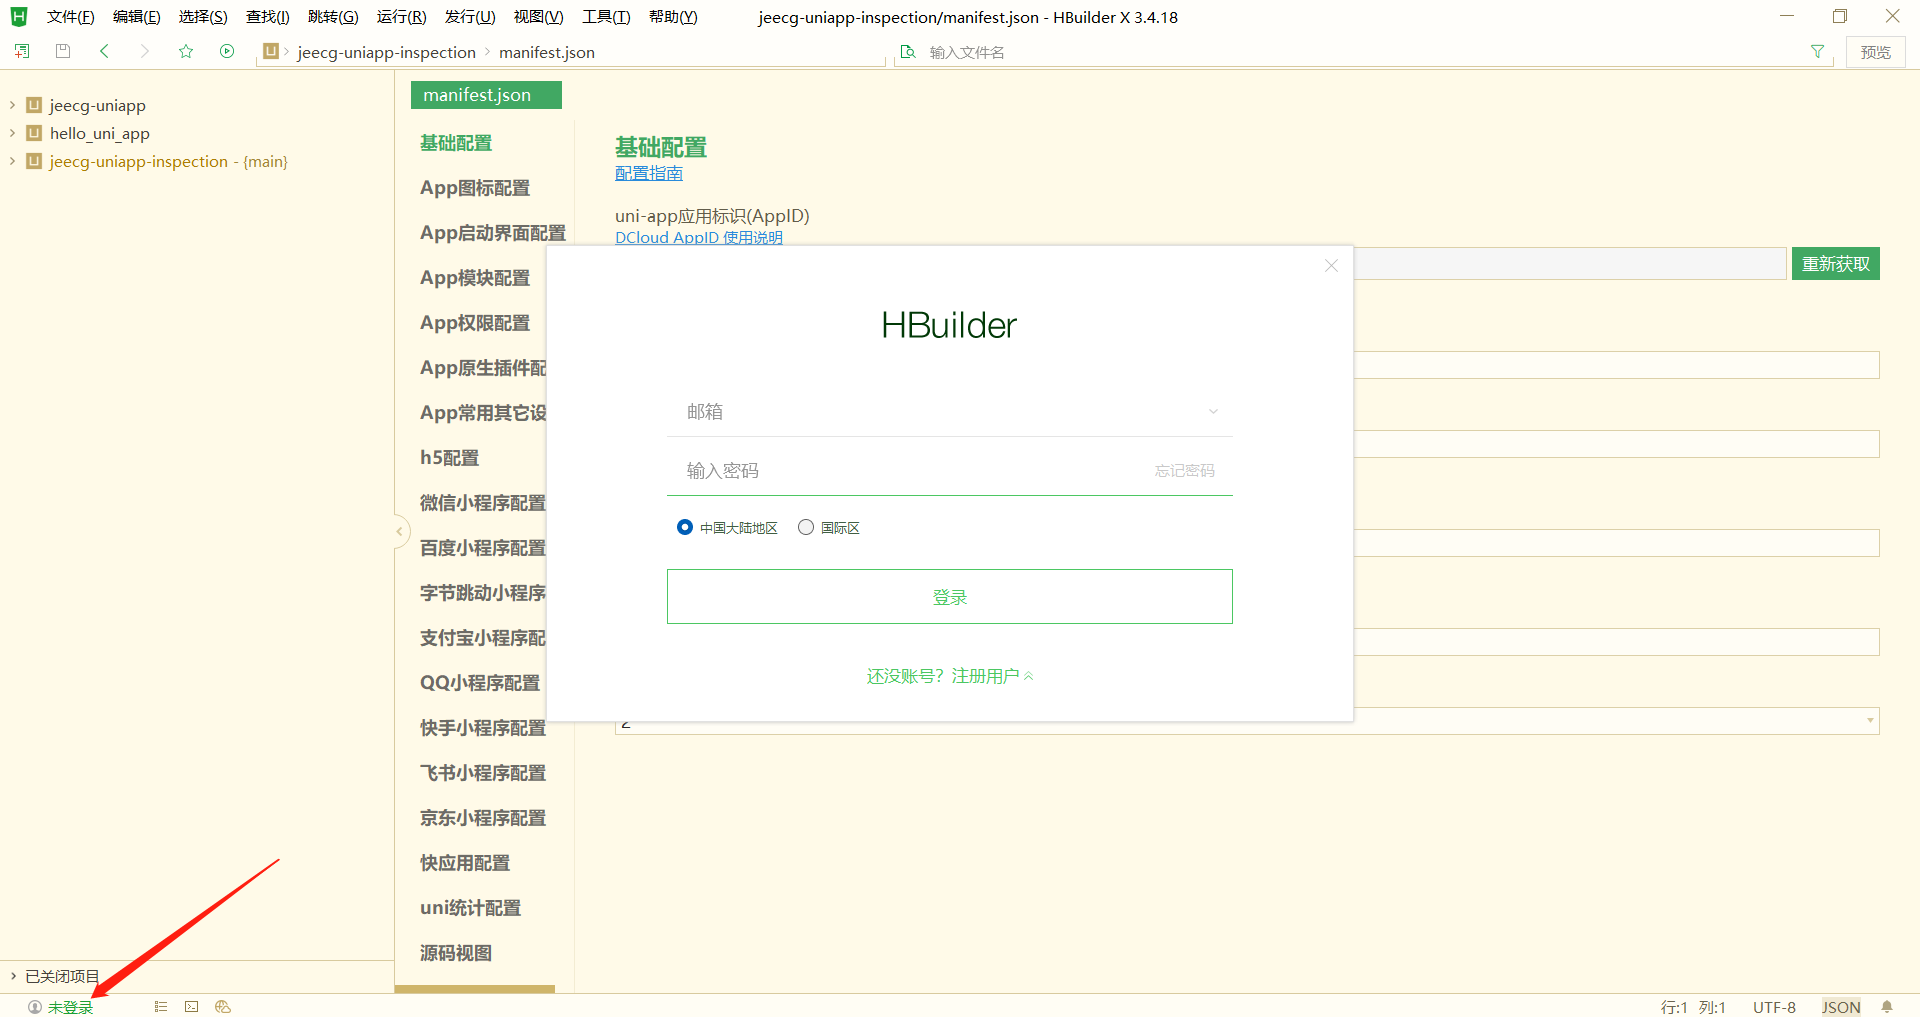
Log in to HBuliderx
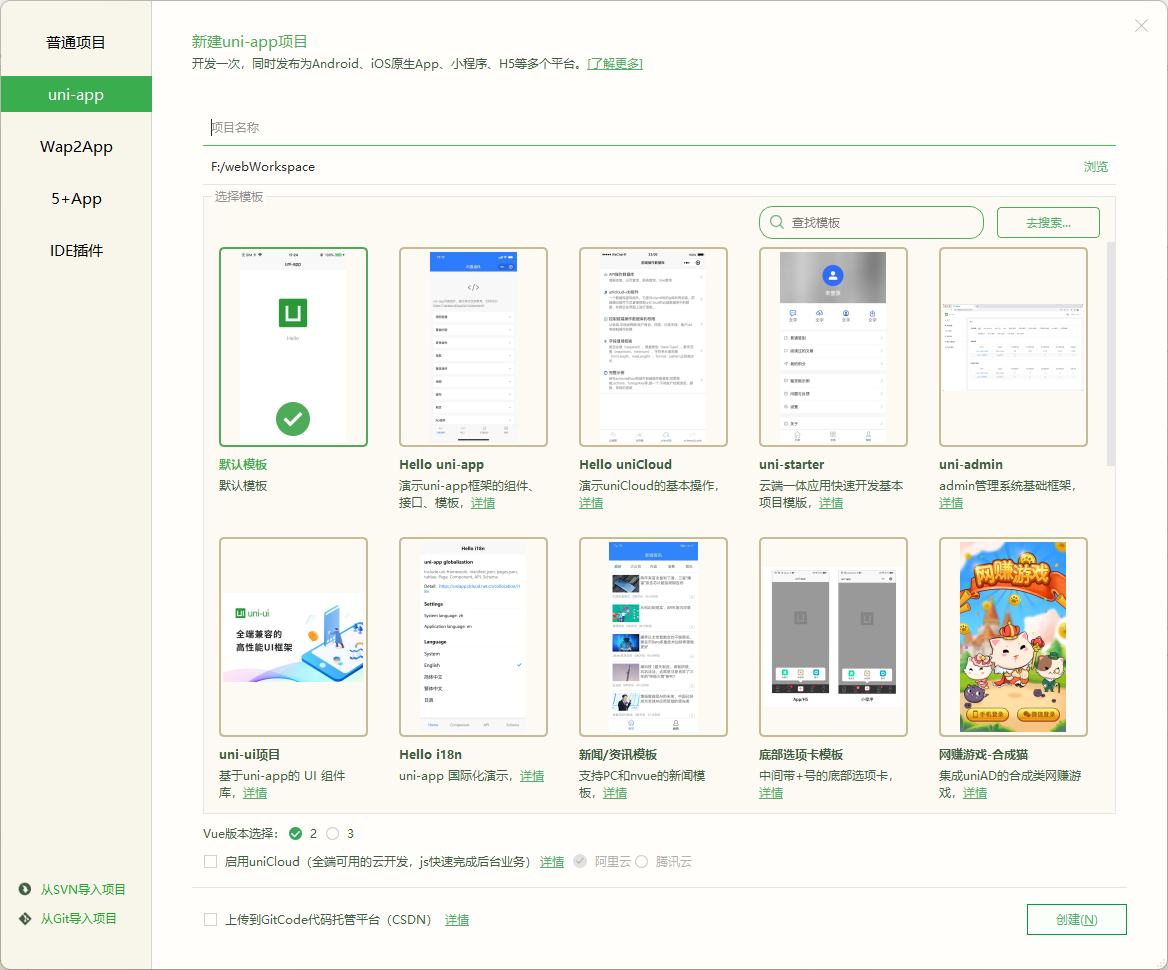
- Create a Project
You can use the built-in templates of uniapp or use your own existing templates.
- Obtain the uni-app Application ID (AppId)
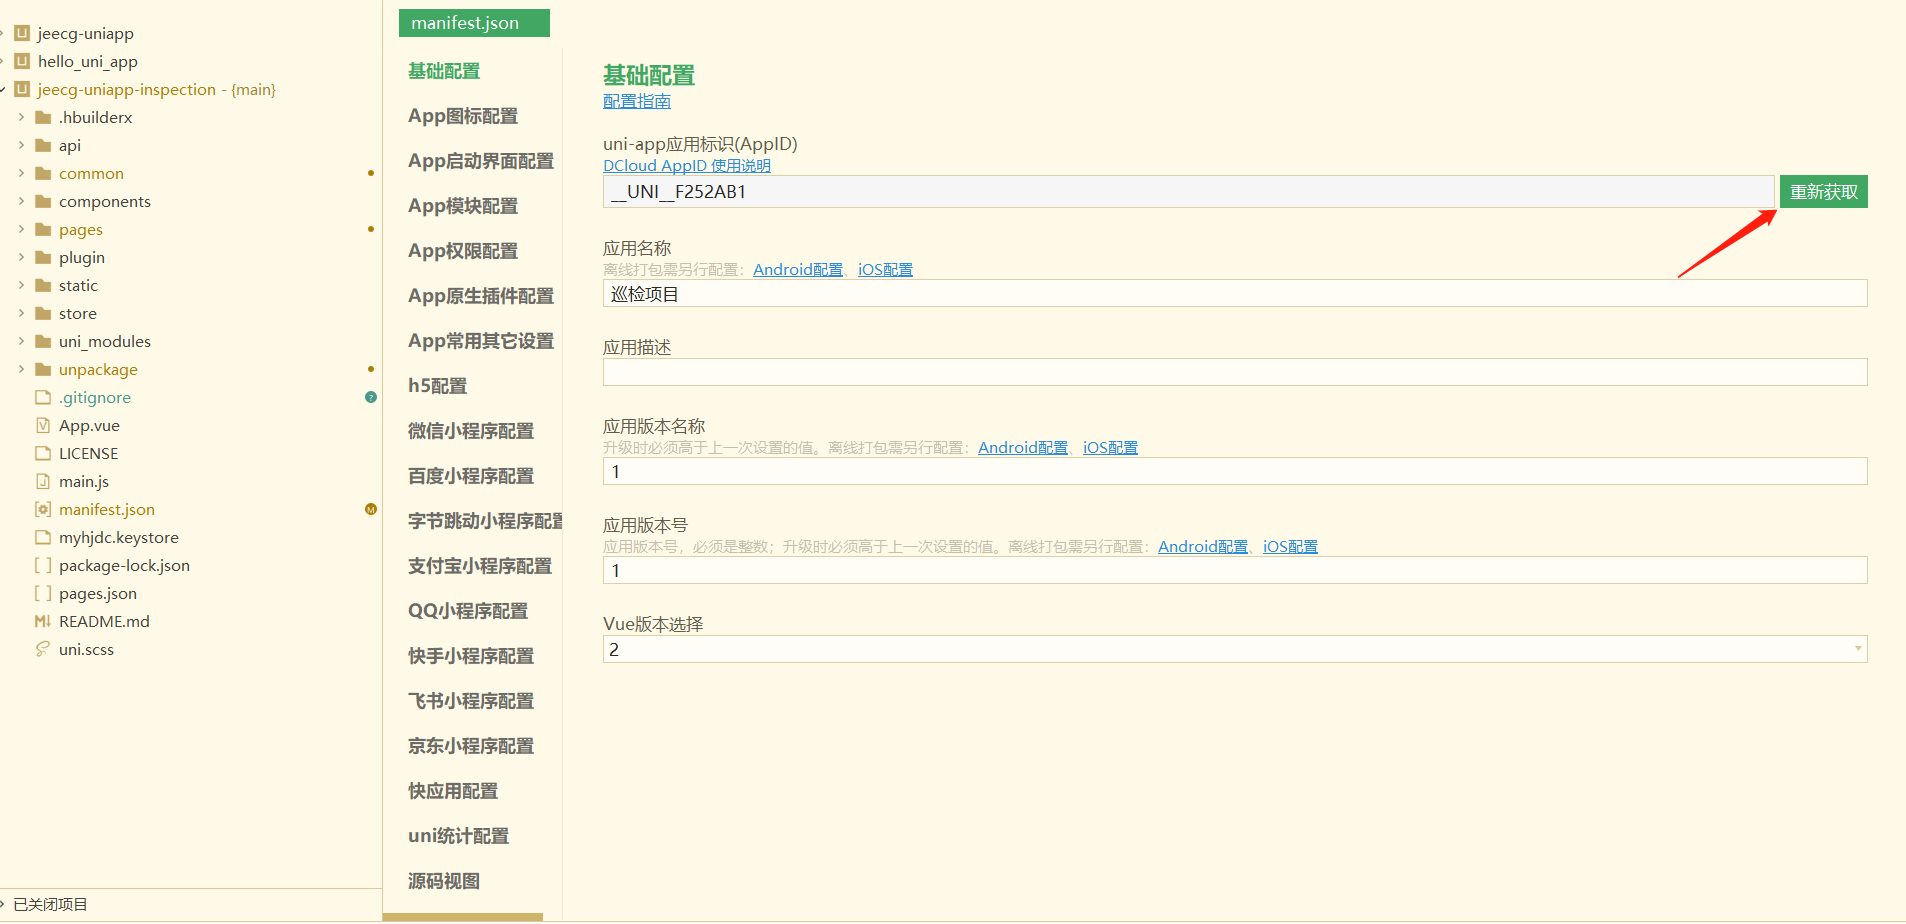
After completing these steps, the project can be run in a browser.
II. WeChat Mini Program Development Environment
- Register a WeChat Developer Account
- Download Development Tools
- Register AppId
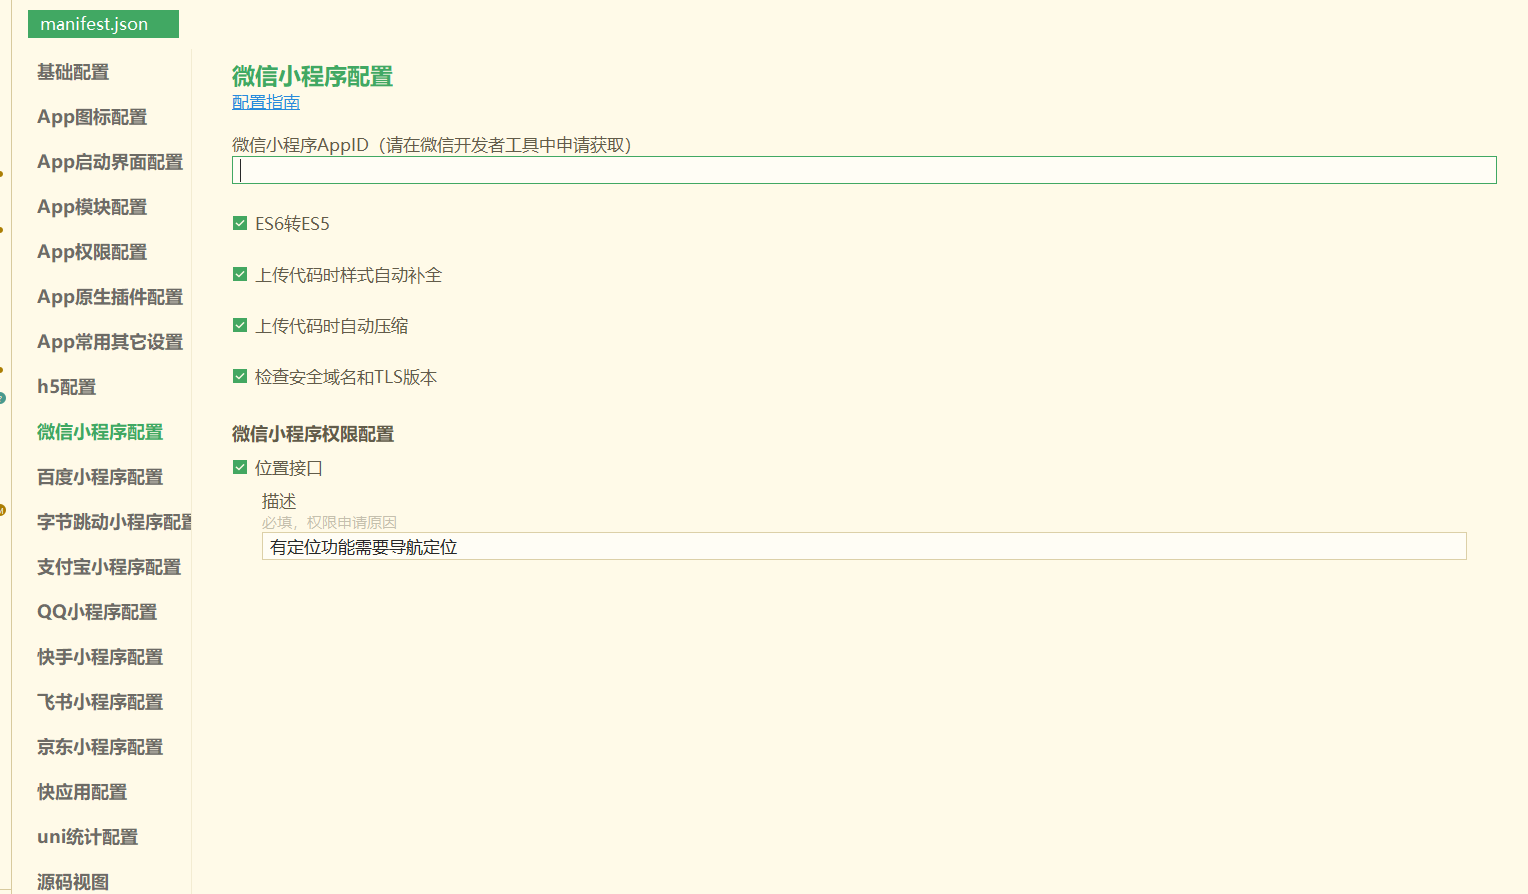
- Configure WeChat AppId in HBuilderx
- Security Settings
Proxy –> Use System Proxy
Security –> Open Service Port
- Start the Project
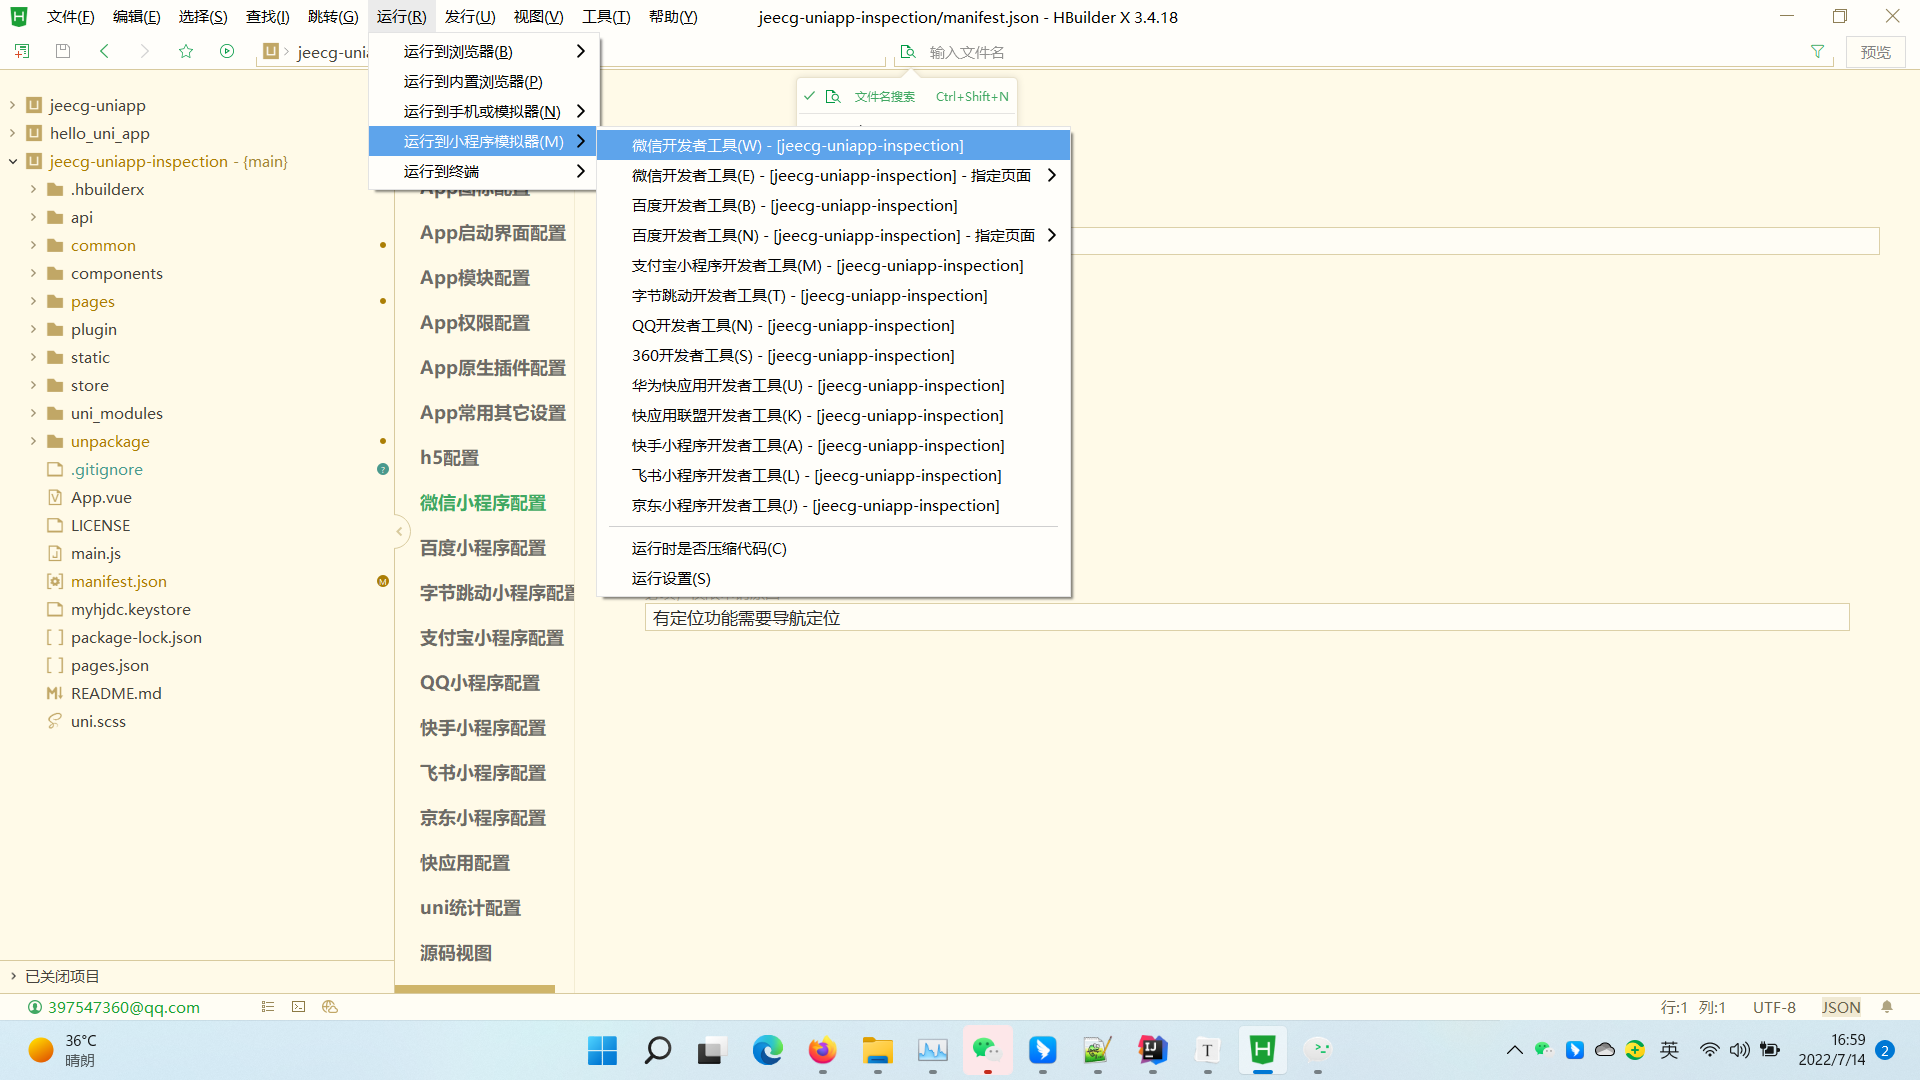
After completing these steps, you can run the project in the WeChat Developer Tools, and any code changes will be synchronized to the WeChat Developer Tools after compilation.
III. Configuring HTTPS and WSS
Since WeChat mini programs must use HTTPS and WSS requests with a registered domain, we must ensure that our backend application deployed on the server can use HTTPS requests.
Apply for a domain name on Alibaba Cloud or Tencent Cloud and complete the Ministry of Industry and Information Technology and public security registration
Only after completing the above steps can you proceed further. Taking my domain xiaozhuo.top as an example:
1. Apply for an SSL Certificate
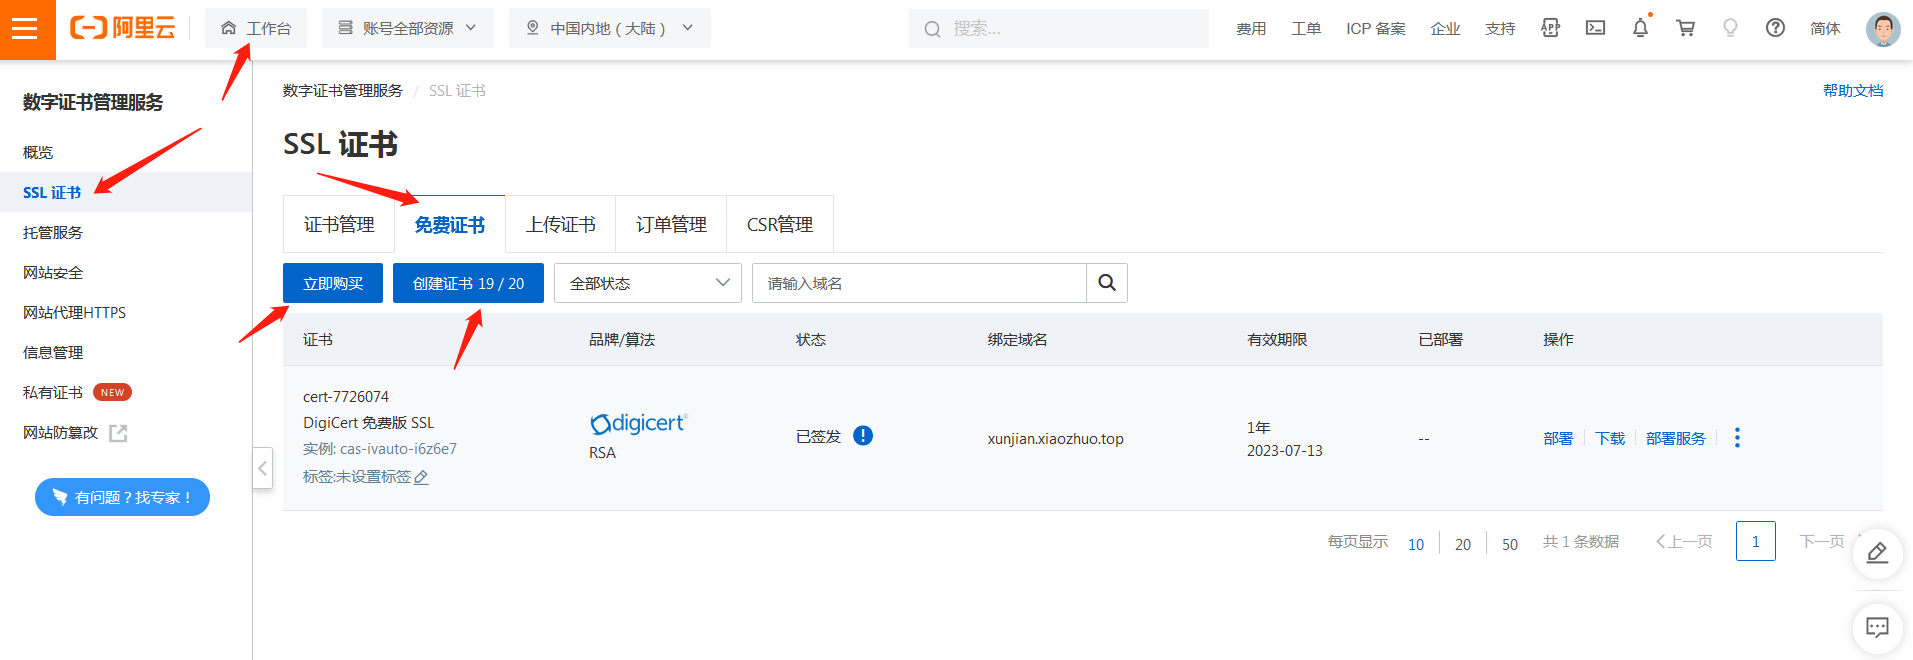
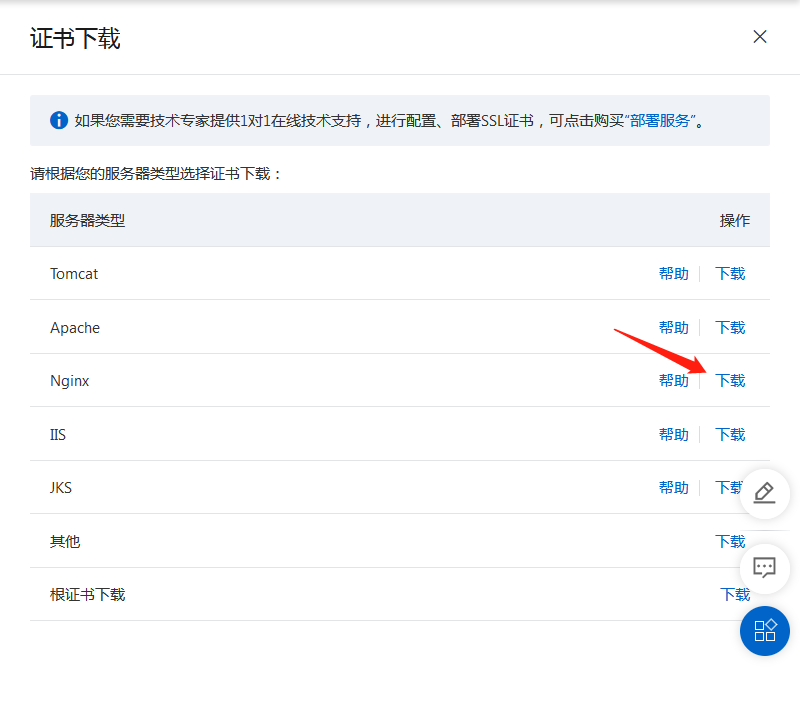
2. Download the Certificate
3. Unzip and Upload the Certificate to the Server
My filenames are cert.pem and cert.key, uploaded to the /etc/nginx/cert directory. Create the directory if it doesn’t exist.
4. Configure the Nginx Configuration File
 map $http_upgrade $connection_upgrade {
        default upgrade;
        '' close;
    }

    # HTTPS server
    #
    server {
        listen       443 ssl;
        server_name  xunjian.xiaozhuo.top;

        #Path to store certificates
        ssl_certificate      cert/cert.pem;
        ssl_certificate_key  cert/cert.key;

        ssl_session_cache    shared:SSL:1m;
        ssl_session_timeout  5m;

        ssl_ciphers  HIGH:!aNULL:!MD5;
        ssl_prefer_server_ciphers  on;
        #HTTPS request-related configurations
        location ^~ /jeecg-boot {
            proxy_pass              http://xxxx/jeecg-boot/;
            proxy_set_header        Host 127.0.0.x;
            proxy_set_header        X-Real-IP $remote_addr;
            proxy_set_header        X-Forwarded-For $proxy_add_x_forwarded_for;
        }
        #Solve the problem of not finding the page when refreshing the route address in Router(mode: 'history') mode
        location / {
            root   html/xunjian/dist;
            index  index.html index.htm;
            if (!-e $request_filename) {
                rewrite ^(.*)$ /index.html?s=$1 last;
                break;
            }
        }
        #WSS-related WebSocket configurations
         location /jeecg-boot/websocket {
           proxy_http_version 1.1;
           proxy_pass http://xxxx;
           proxy_redirect off;
           proxy_set_header Host $host;
           proxy_set_header X-Real-IP $remote_addr;
           proxy_read_timeout 3600s;
           proxy_set_header X-Forwarded-For $proxy_add_x_forwarded_for;
           proxy_set_header Upgrade $http_upgrade;
           proxy_set_header Connection $connection_upgrade;
        }

    }
5. Restart Nginx After Configuration
nginx -t #Check if the configuration file is correct; if not, there is an issue with the configuration
service nginx restart
IV. Packaging Android App
After the project development is complete, you can directly package it into an Android App. This section does not involve advertising and app promotion channels, using cloud packaging directly.
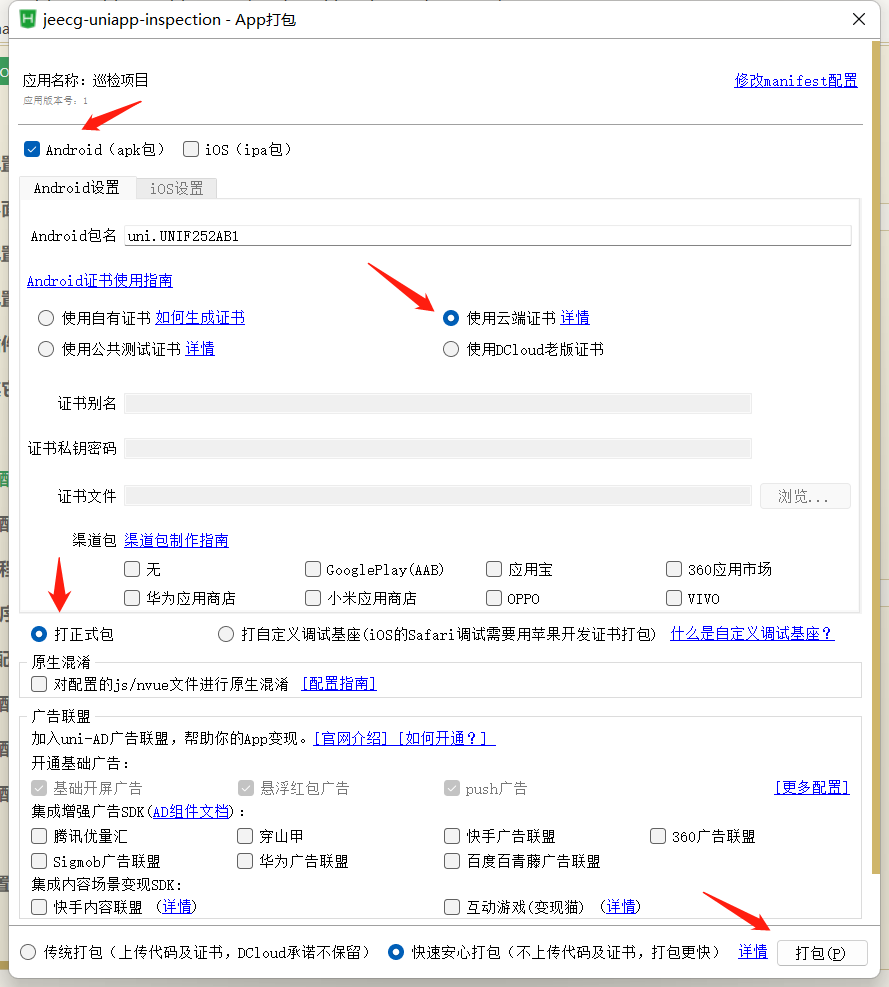
The first cloud packaging attempt stopped at 40% because HBuilderX was not updated to the latest version.
Packaging takes a long time, usually around half an hour, so be patient. After packaging, an apk file will be generated in the unpackage/release/apk directory.
V. Mini Program Release
First, log in to the WeChat Public Platform, scan the code to log in to the mini program, and then make the necessary configurations.
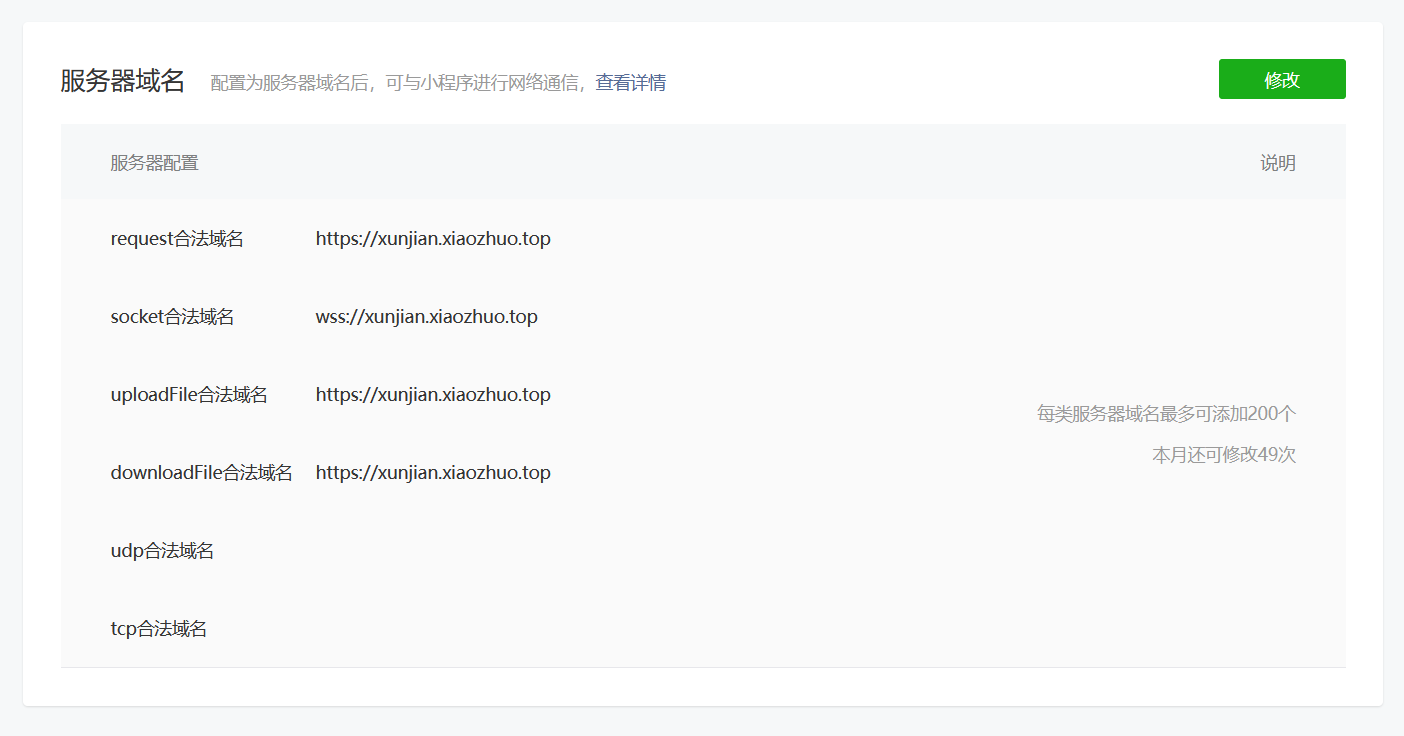
1. Configure Server Domain
Configure in Development – Development Management – Development Settings – Server Domain.
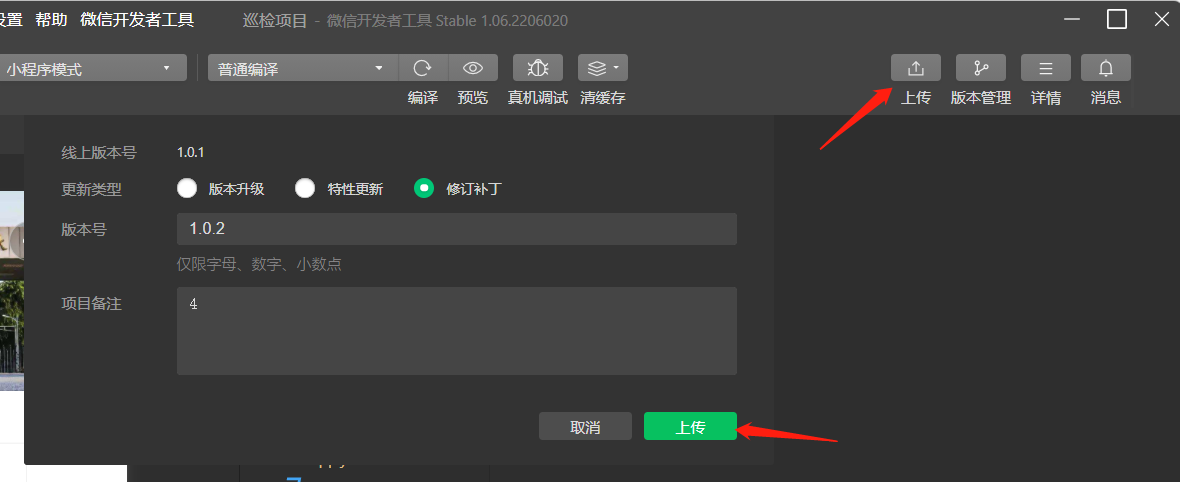
2. Upload Version
WeChat Developer Tools – Upload – Fill in version information.
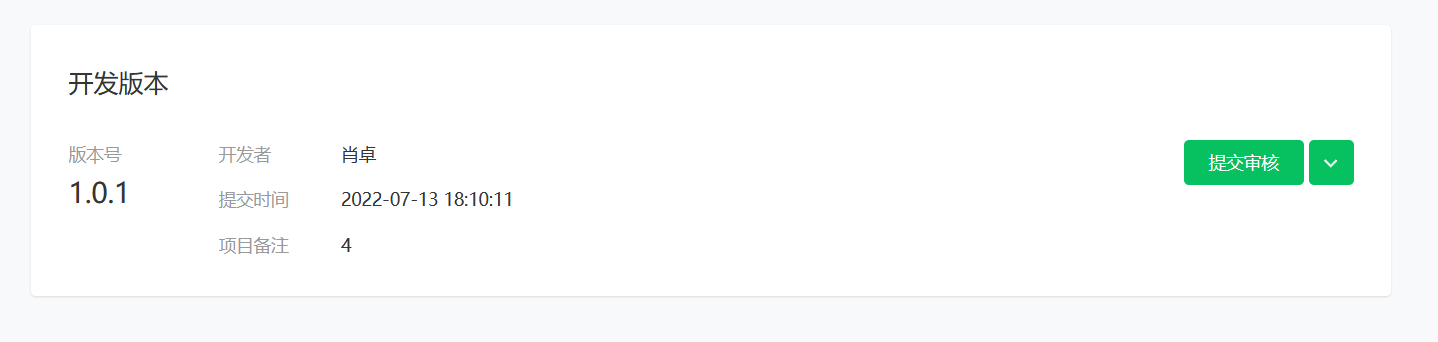
3. Submit for Review
WeChat Public Platform – Management – Version Management – Development Version – Submit for Review.
The review process takes some time, so be patient. After the review is complete, you can publish. Before the first submission, you need to fill out a user privacy notice, which can be done according to the template provided.